
Congratulations on choosing the only blogging platform you’ll ever need! You're ready to write your first blog post with DropInBlog!
If you've come this far, you've already done a few things:
You already know about the benefits of blogging.
You already know why DropInBlog is the best blogging platform out there.
You already started your free trial and embedded DropInBlog into your website.
Now, we’ll show you how to write your first blog post.
Table of Contents
Create a New Blog Post
First, log in to your DropInBlog account and open up the admin panel by clicking Posts in the navigation bar.
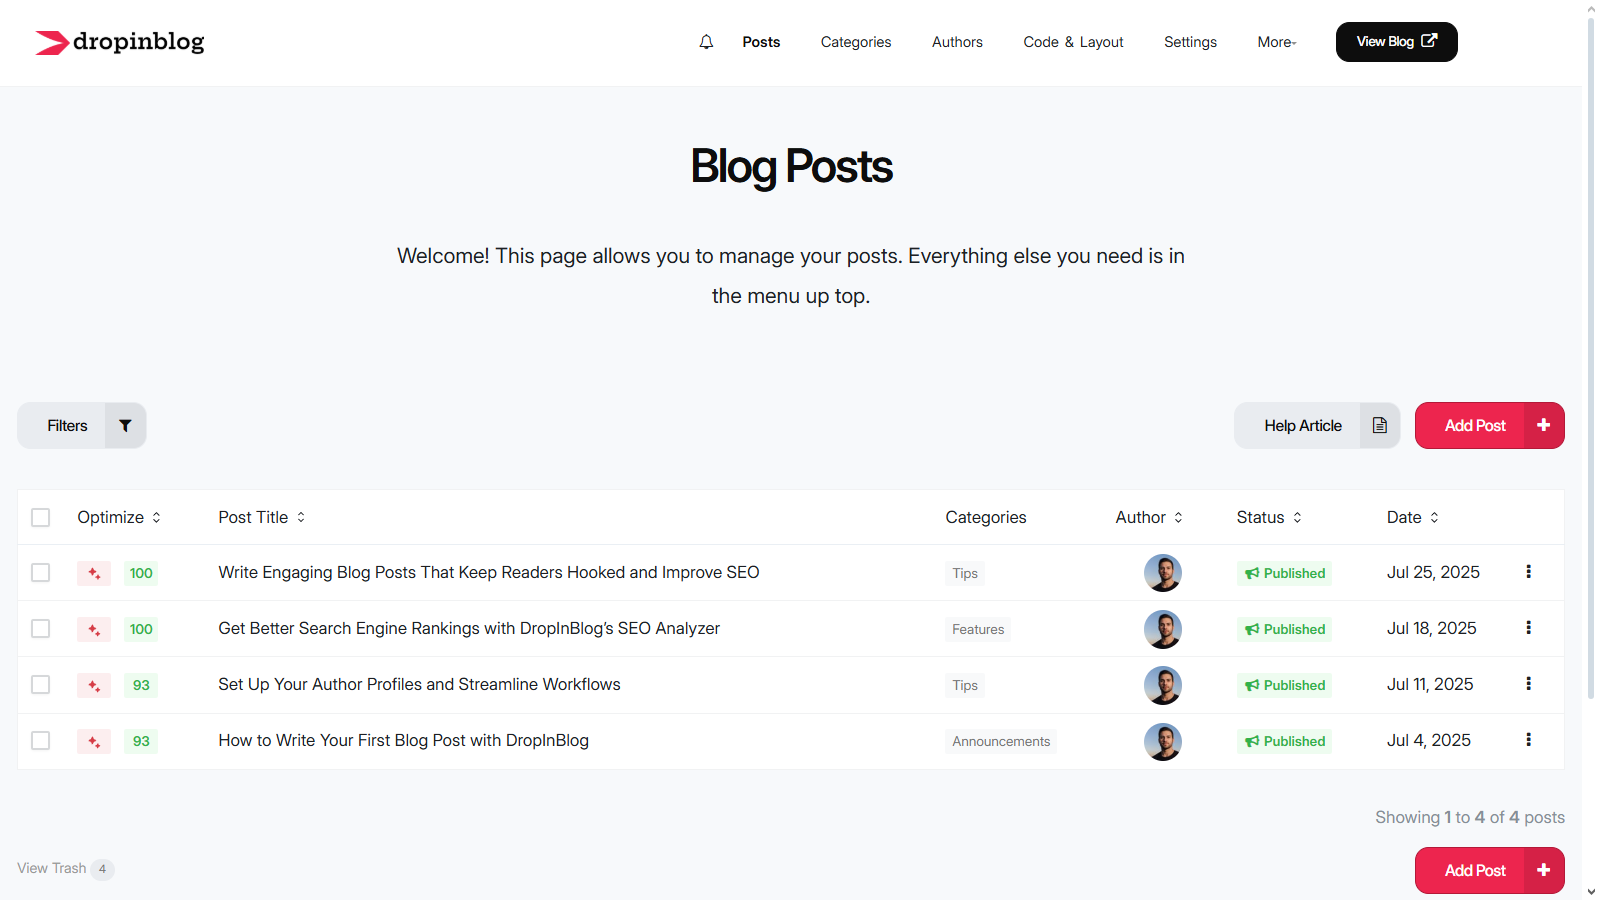
You'll see a welcome banner and four demo posts in the list. To start a new post, click on Add Post.
Write Your Post Using the DropInBlog Editor
With DropInBlog’s editor, it’s easy to write your first blog post by adding a title and content using the Post Title and Content boxes. Just start typing!
At the top of the editor, you’ll see a menu which you can use to do the following:
Add headings and paragraph styles
Create columns and tables
Add lists, special characters, and emojis.
Optimize Your Post for SEO
We want each blog post you write to have the best chance of making its way to the top of search results. To help you with that, we’ve created the SEO Analyzer.
Our SEO analysis tool guides you through the process of optimizing your posts. As you create posts, you'll see your SEO score increase as each benchmark is hit. Follow the suggested tips and try to get your SEO score as close to 100 as you can.
The SEO Analysis section is located just below the DropInBlog editor.
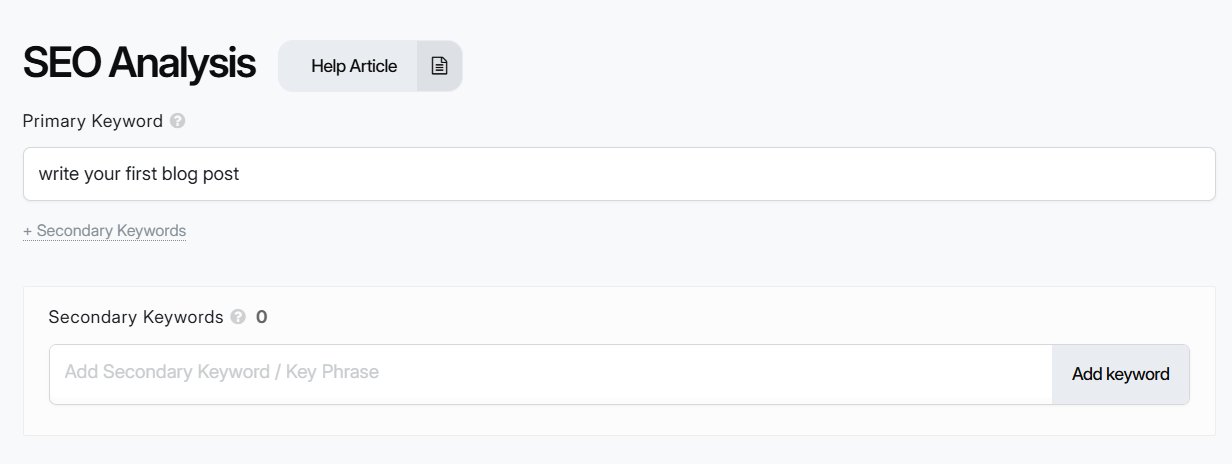
Here, you can add your primary keyword, SEO title, and meta description – all of which help your blog posts rank better in search engines.
In addition to managing individual posts’ SEO, DropInBlog also allows you to adjust the SEO settings for your entire blog.
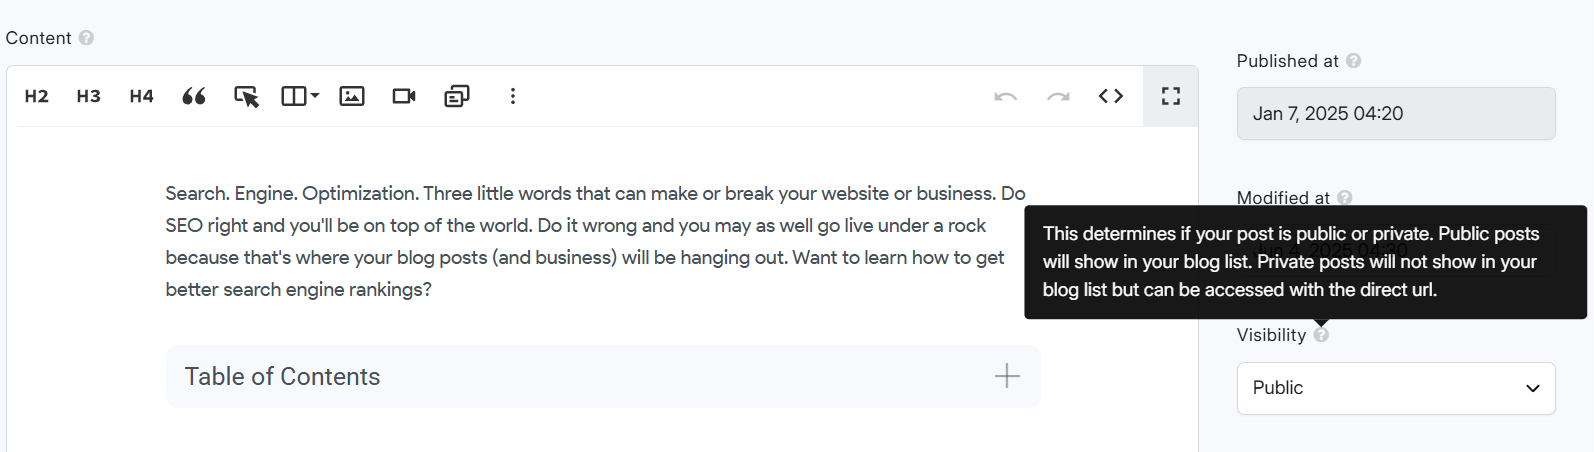
Additional Post Settings
Apart from allowing you to add your content and optimize it for search engines easily, DropInBlog also gives access to the following features and settings (located on the right side of the post editor):
Setting post status (draft, published, scheduled)
Adding a featured image
Assigning an author to a post (if you don’t have an author profile yet, you can add and manage author pages from the Authors page)
Selecting one or more blog post categories (the Categories page of your DropInBlog account is where you’ll add and manage all your categories)
Picking Related Posts manually
Customizing your blog post slug
Don’t worry! Even if you don’t remember what each feature or setting does, the DropInBlog editor includes tooltips next to every input.
You’ll learn everything about our blogging platform in no time.
Publish Your First Blog Post with DropInBlog
Once you’re ready to make your post live, select "Published" from the "Status" dropdown. If you've already embedded your blog, it will automatically sync with your main website.
Add Content to Your Blog Easily
That's all there is to it! You now know how to:
Create a new blog post using the DropInBlog editor
Add post content (text, images, videos, and more)
Make your post SEO-friendly
Add an author and categories
As you can see, it's super easy to create content with DropInBlog! If you have any questions, reach out to us via the support portal.